
Sponsored Display Video campaigns cannot be created in the Ad Optimizer at the moment. Nevertheless, the Ad Optimizer is capable of optimizing bids for Sponsored Display Video once created.
In order to create these campaigns you need to go to your Amazon Advertising Account.
Step 1: Portfolio & Budget
First of all a portfolio needs to be created via the metoda Ad Optimizer and ideally a separated/dedicated one for SD.
Define a SD-Budget: make sure to set a budget for the Portfolio in the Ad Optimizer. The Ad Optimizer will take over the budget management. Setting a budget period in the respective portfolio is the necessary requirement for your campaigns to be delivering. Otherwise, the campaign does not have any budget to be spent.
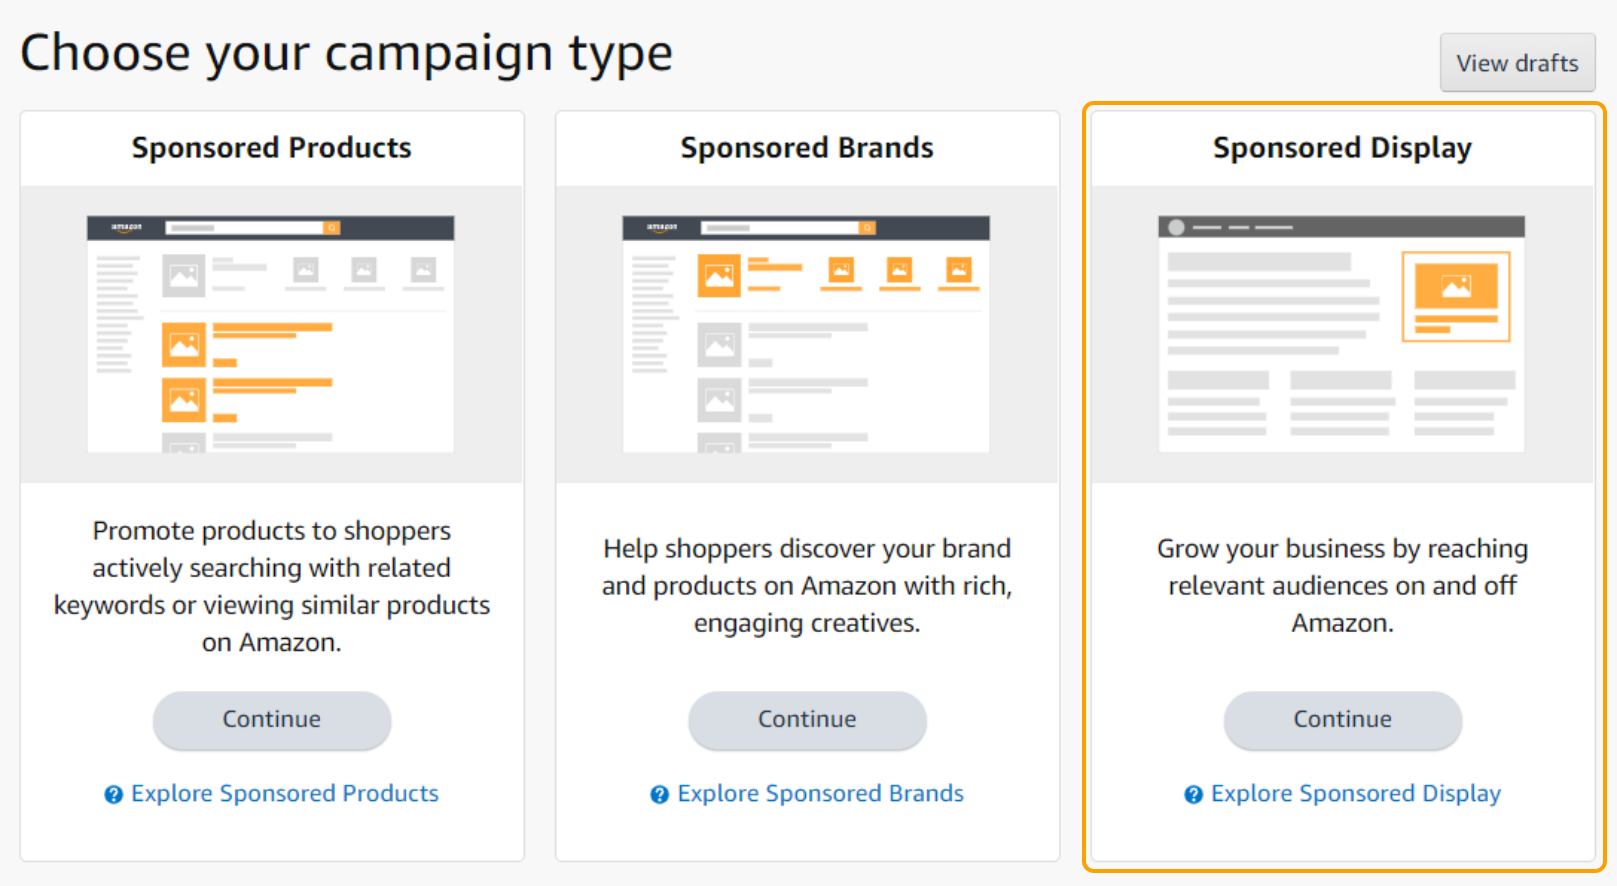
Step 2: Go to campaigns, click "create campaign" and select "Sponsored Display".
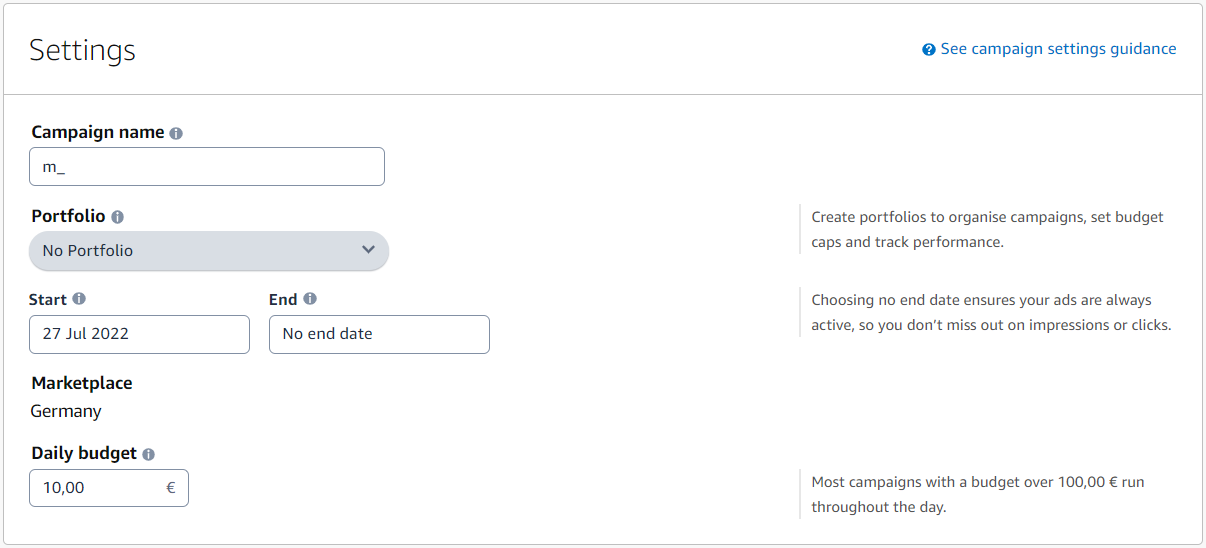
Step 3: Enter campaign name, portfolio, start date and optionally an end date, and the daily budget in the budget settings.
-
Campaign names should start with “m_” for a better overview, but this is not required.
-
We do not recommend setting an end date in Amazon, as you can do this in Ad Optimizer at any time.
-
Ad Optimizer adjusts the campaign daily budget on a daily basis, we recommend starting with at least 10€/10$

Step 4: Ad Group name: no need for adjustments, leave it as it is


Step 5: Choose bid optimization strategy
Choose the best option depending on your strategy
Best Practice: Optimize for conversions leads to most efficient results

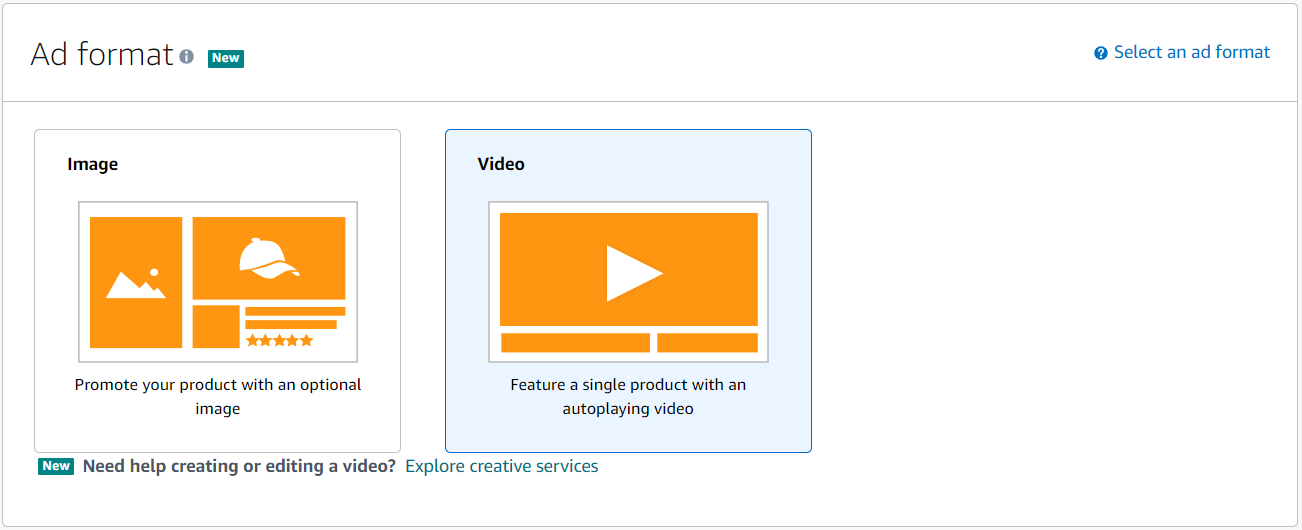
Step 6: Choose the ad format (video)
Step 7: Select advertised ASIN
Search and select for the ASIN(s)/ product(s) you want to display/advertise in the SD campaign.
Best Practice: we recommend a single ASIN approach (rather than multi ASIN) to enable the most precise targeting and optimization possible.

Step 8: Choose targeting
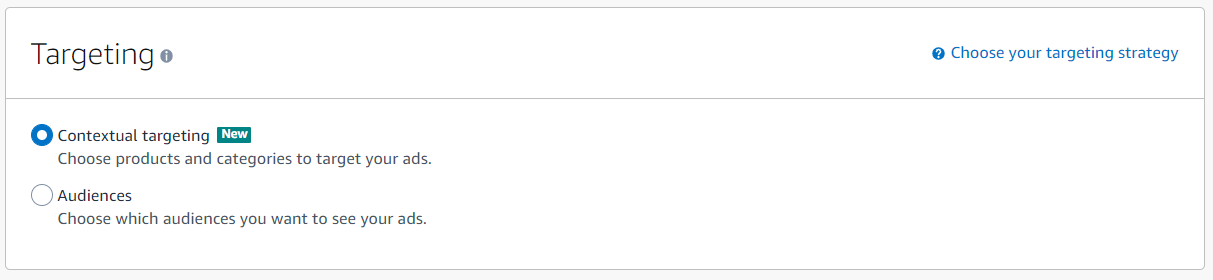
You can choose between the following tactics:
Contextual targeting
Choose products or/and categories
-
Defend strategy: use product targeting and defend your own ASINs with your own ASINs (e.g. for cross-selling or up-selling purposes). With this tactic, we aim to protect your own product detail pages from competitors.
-
Narrow attack strategy: use product targeting and attack relevant competitor products (e.g. close substitutes of your products, complementary products). With this tactic, we try to steal traffic from relevant competitor product detail pages.
-
Broad attack strategy: use category targeting in order to attack all other products in the same category. This is a very broad approach, but does not require as much research from your side.
Audience
Choose audiences
-
Amazon audiences: reach relevant audiences using Amazon exclusive, prebuilt segments: Lifestyle, Interests, Life events, and In-market. -> Learn more
-
Views remarketing strategy: use audience targeting in order to retarget consumers who have already viewed your products, e.g. within the last 30 days, but who have not purchased your product yet. With this tactic, we try to convince consumers who are in the consideration phase, but have not purchased the product yet.
-
Purchases remarketing: can help you achieve different campaign objectives, including to drive repeat purchases and build customer loyalty, cross-sell to existing customers, and reach new audiences.
Step 8.1: Contextual targeting
Choose categories or individual products depending on your strategy
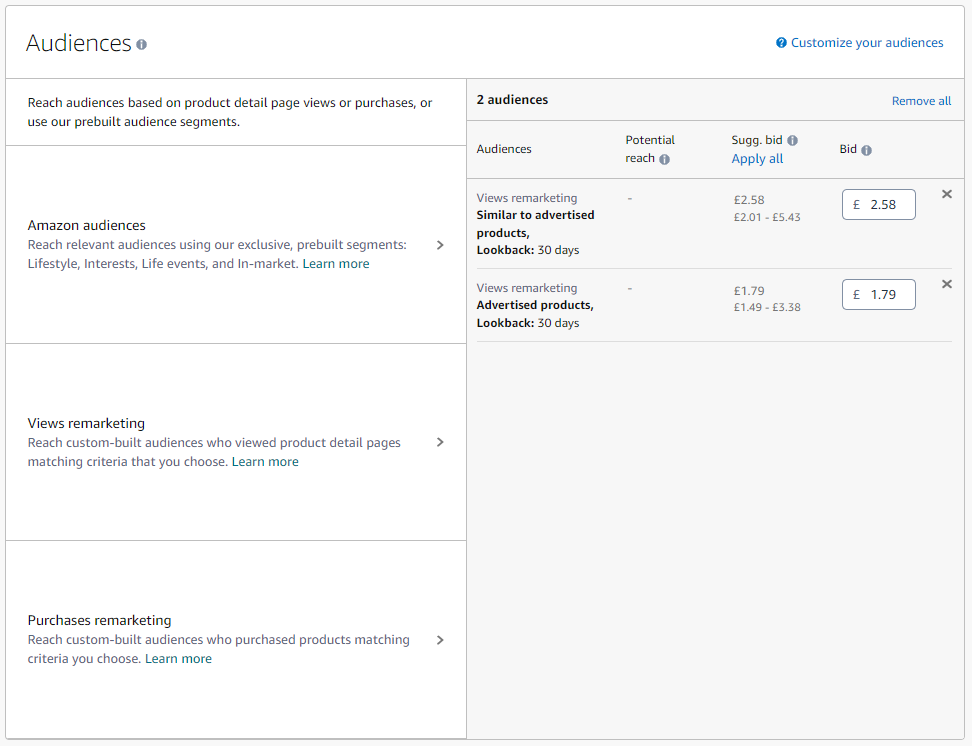
Step 8.2: Audiences
Choose the audiences you want to target and reach audiences based on product detail page views or purchases, or use our prebuilt audience segments.
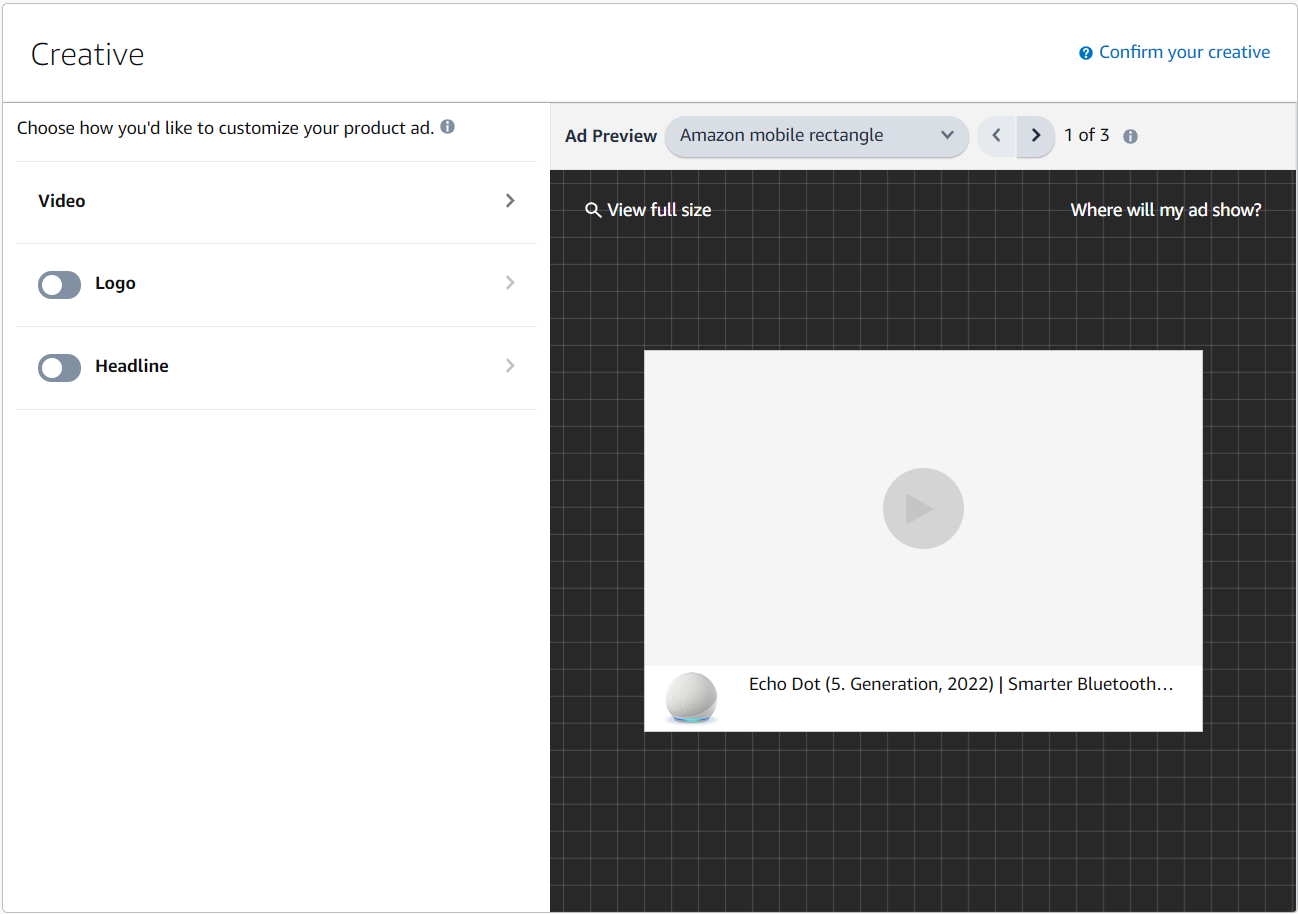
Step 9: Edit the Creative
Concerning the creative, there are various options you can use to customize your ad:
-
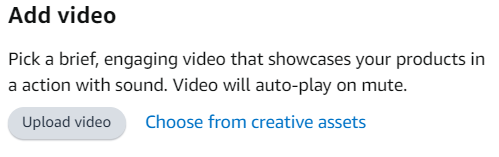
Upload a Video
-
Video specs

-
-
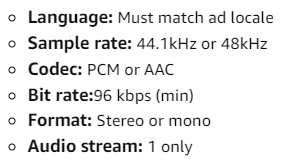
Audio specs for Video
-
Display your brand logo: min. 600x100 pixel, max. 1 MB file size, PNG or JPG format
-
Display a headline with max. 50 characters
You can customize your ad and combine a logo and a headline. If none of these options are enabled, only the video will be displayed with the product image, title, etc. (depending on the placement).
Step 10: Launch campaign & submit for review

After having a final check of the settings, complete the campaign creation by clicking on “Launch campaign”. The campaign approval can take up to 72 hours. If the campaign has been rejected you’ll find it in “Drafts”, where you can edit the campaign and resubmit for approval.
Step 11: Complete the campaign in Ad Optimizer
The campaign will be shown in the metoda "Ad Optimizer - Campaigns" section 6 hours after campaign creation latest.
- Set a TACoS: Add the Target ACOS of the campaign in the metoda Campaign Manager (https://ad-optimizer.metoda.com/campaigns) once the campaign is shown there. If no TACoS value is set, the campaigns will not be optimized by our algorithm.
For Managed Service customers, our Customer Success team takes over campaign creation.
In order to provide your input, please fill in the Onboarding Template for Sponsored Display campaigns with all mandatory information.
Send the complete template, videos and logos to metoda. The campaigns will be onboarded by the Customer Success team.